How to Organize Pots and Pans So You Can Actually Find Them
Published How we research

To organize pots and pans, keep only what you use, store the pieces you reach for most within arm's length of the stove, and give lids their own spot instead of stacking them on the cookware. Protect nonstick surfaces with a liner between stacked pans. Done well, this turns a noisy, avalanche-prone cabinet into one where you can pull a single pan without lifting five others.
Products from this article
The highest-scoring picks from the buying guides this article links to. Scores are our editorial assessment, not customer ratings.
+ 12-Quart size is big enough for batch soup but still manageable
From our guide: Best Stock Pots
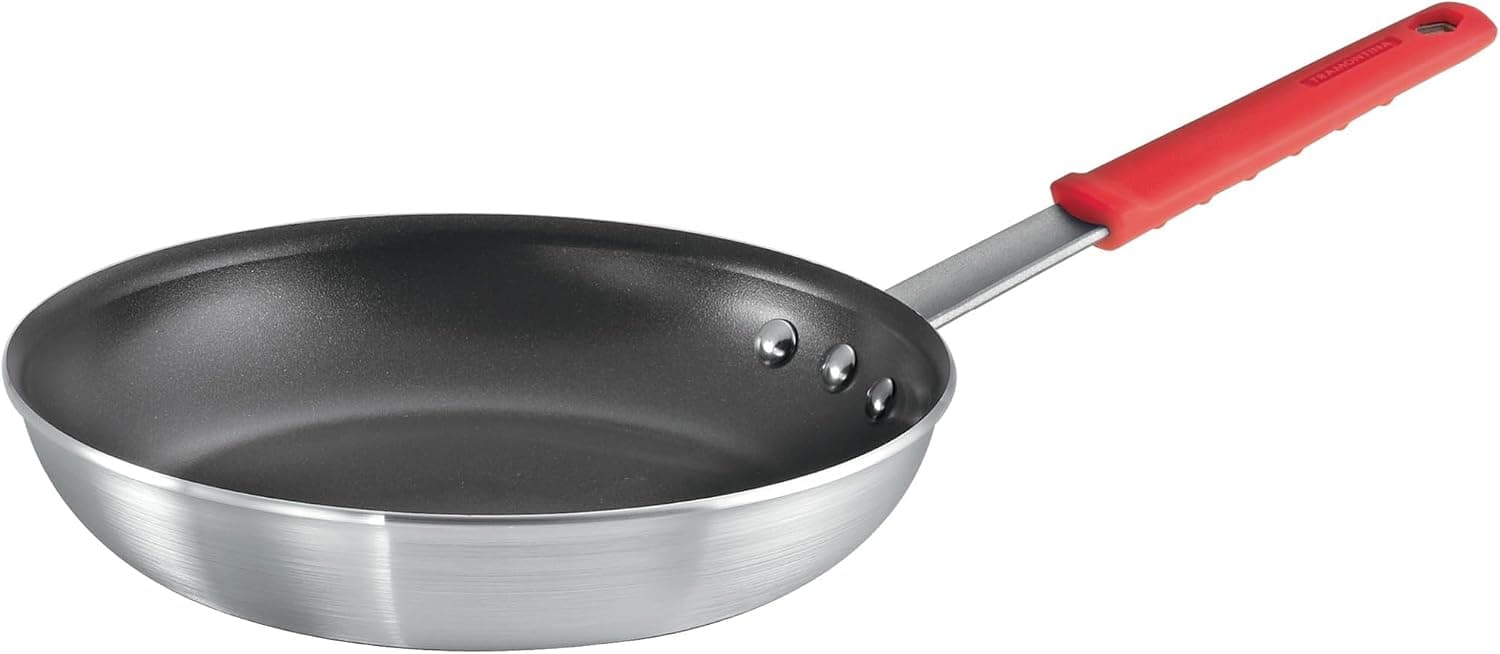
+ Heavy-gauge aluminum heats quickly and evenly
From our guide: Best Nonstick Fry Pans
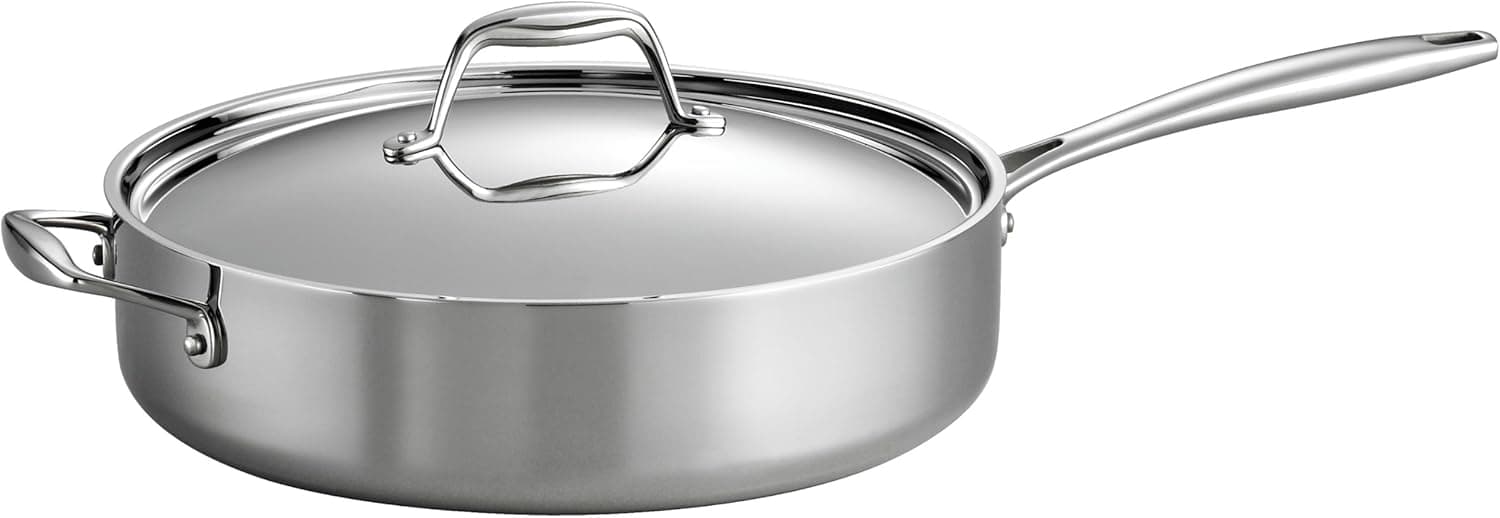
+ Tri-ply clad construction distributes heat evenly
From our guide: Best Saute Pans
+ Lock and drain lid strains pasta without a separate colander
From our guide: Best Stock Pots


Thin out the collection first
Lay every pot, pan and lid on the counter. Most kitchens hold three or four pieces that do nearly all the work: a large skillet, a medium saucepan, a stock pot and a sheet pan. Group duplicates and keep the best one of each size. Warped bases, flaking nonstick coating and loose handles are good reasons to retire a pan.
Check lids against pots. A lid with no matching pot is just clutter, and a pot with a missing lid can often be fitted with a universal lid. Donate or recycle anything that no longer has a role.
A useful test is to ask when you last used each piece. If the answer is more than a year, and you cannot name the dish it was for, it can go. Fewer pans also means each one gets a better spot, which is the quickest way to make the cabinet feel roomy.
Store by how often you cook with it
Sort what is left into daily, weekly and occasional. Daily pans live in the easiest cabinet or drawer, close to the stove and between knee and shoulder height. Weekly pieces, such as a sauté pan or a batch-cooking pot, can sit one reach farther away. Occasional items, like a large roasting pan or a canning pot, belong on high or low shelves.
For meal prep, keep your batch cooking set together: stock pot, big skillet and sheet pans in one place, so a Sunday cook starts with one pull instead of a scavenger hunt.
Stack smart: nest, protect and separate
Nesting works when pieces graduate in size. Place the largest at the bottom and put a paper towel, felt pad or silicone pan protector between pans so that nonstick surfaces do not get scratched. Do not stack more than three or four pans high, or the bottom one becomes the one you never use.
Cookware sets that are designed to nest save a lot of space, because handles and rims line up. If your pans have long handles, alternate directions so the stack is stable and the handles do not block the next cabinet.
Heavy cast iron and enameled pots do better on a low shelf or in a drawer than stacked inside each other, since the weight can chip enamel.
Give lids and sheet pans their own storage
Lids cause most of the clatter. A rack on the inside of a cabinet door, a lid holder on the shelf or a deep drawer divider keeps them upright and separated. Store them near the pots they fit so you can grab the pair together.
Sheet pans, cooling racks and cutting boards are best stored on their edge in a vertical divider. A narrow cabinet or a gap beside the oven suits this, and you can slide out one pan without moving the rest. Flat-stacked sheet pans trap each other and warp less when stored on edge with a little space.
Use drawers, hooks and racks when cabinets run out
Deep drawers beat cabinets for pans because you see everything from above. Add peg dividers to keep each pan in a fixed slot. If you lack drawer space, a wall-mounted rail or ceiling rack for your most used skillets frees a shelf, but it works best when pans are used often enough that they do not collect grease and dust.
A tiered rack inside the cabinet raises a second layer of pans and lets you see handles at a glance. Measure the cabinet interior first, including door swing and the shelf height, so the rack fits.
Match the storage to the kind of cookware
Different materials need different handling. Nonstick and ceramic coatings are the most delicate, so they get protectors or hanging space. Stainless steel is tough and stacks well, though bases can scratch each other and the finish dulls without harm. Cast iron and enameled Dutch ovens are heavy, so keep them on a sturdy low shelf and never on a high one.
Stock pots take the most room. If one is rarely used, store smaller pots or the steamer insert inside it, and put the lid beside it. That uses the empty volume that would otherwise go to waste and keeps the set together.
Before buying any organizer, measure the cabinet width, depth and the height between shelves, and compare these with the footprint of your largest pan. A rack that fits the cabinet but not your skillet is a common mistake, and it is easy to avoid with a tape measure.
Frequently asked questions
Should I hang pots and pans or store them in cabinets? Hanging is fastest to reach and looks open, but it needs wall or ceiling space and regular wiping. Cabinets hide the clutter and protect against grease. Choose based on your layout and how often you cook.
How do I stop nonstick pans from scratching in a stack? Put a pan protector, felt pad or paper towel between each pair, and avoid stacking metal pots inside nonstick pans.
Where do pot lids go in a small kitchen? Use a door-mounted rack or a slim lid organizer on a shelf. Both keep the lids vertical, so you can see the sizes and pull one without moving the rest.
How many pots and pans does a meal prep kitchen need? Most batch cooks do well with a large skillet, a medium saucepan, a stock pot and two sheet pans. Add specialty pieces only when you cook that dish often.
Popular right now
- Meal Prep Container Size ChartArticle
- Best Lunch Bags for Meal PrepBuying guide
- Best Insulated Lunch Boxes for Meal PrepBuying guide
- Best Glass Meal Prep ContainersBuying guide
- Freezer burn explainedGlossary
- Safe reheating temperature explainedGlossary
Based on the last 28 days of search and visitor data.